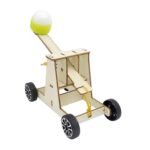
Mechanical systems Energy transfer

Catapult

SKU E2K-STM-CTP

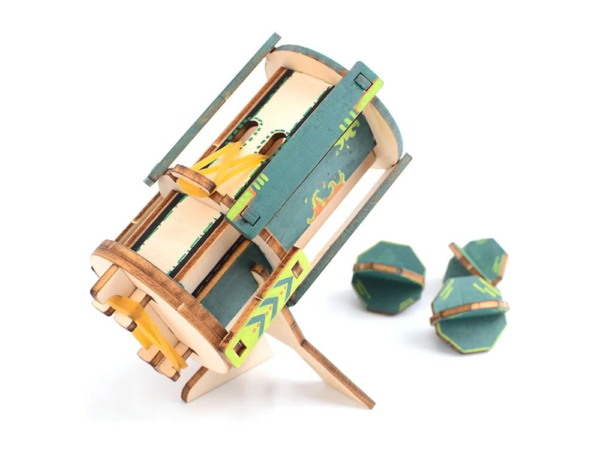
Build a four-wheeled wooden catapult that flings a foam ball from a bottle-cap cup, then move the pivot shaft between five different holes and watch the arc change. Every hole gives a different launch angle, so this is a real experiment you can run again and again, not just a model to put on a shelf.

Grades 3–5 Beginner 45–60 min build
Original price was: $13.99.Current price is: $7.99. /kit
Five pivot positions — a different arc from every one
Quantity
  • Grades 3–5 · fits a single class period
  • Broken or missing part? We'll post a replacement
What they'll learn

Four ideas, one throw

Every one of them is visible in the arc the ball makes, and you can change it and watch it change.

Mechanical systems

Where the pivot sits changes the whole throw.

Energy transfer

A stretched band stores energy and gives it back.

Repeatable observations

Launch three times from the same spot and mark each landing.

Controlled variables

Change one thing, measure it, compare.

Specifications

One catapult, down to the last screw

Finished size, materials and part counts for the build.

Finished size 160 × 75 × 130 mm
Weight 108 g
Materials Wood, plastic and metal components
Pieces 30 pieces
Country of origin China
Safety & compliance

Do not put small parts in your mouth and patiently guide children to install them.

Certified with CERTIFICATIONACF. Full printed warnings are supplied in the manual.

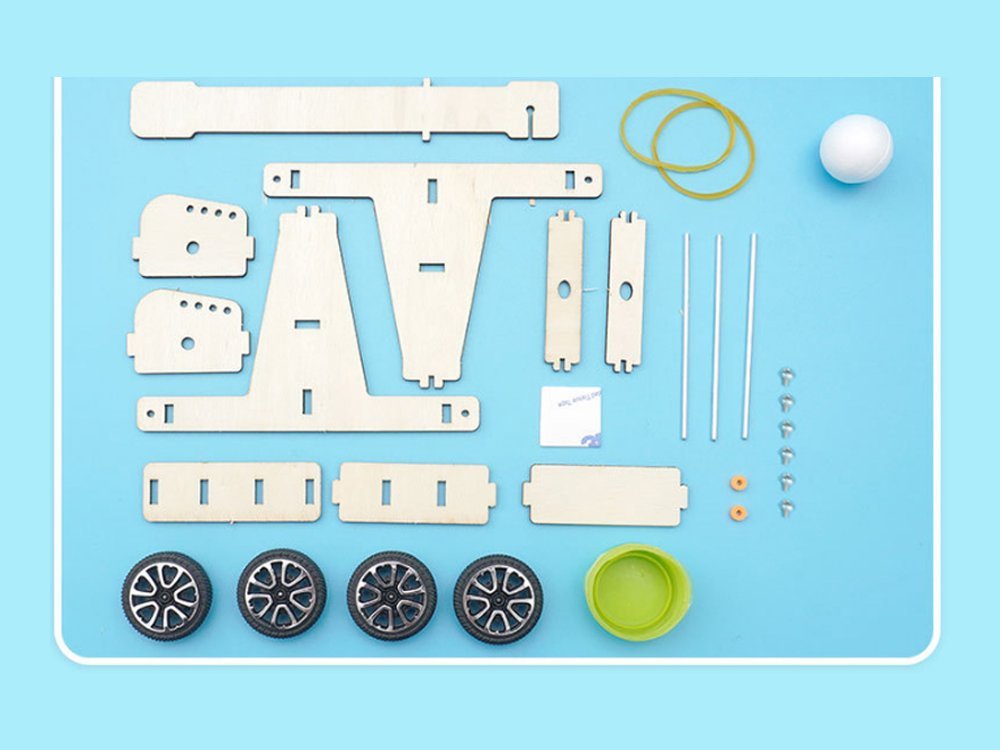
Every part in the Catapult kit laid out: plywood plates, wheels, rubber bands, foam ball, cup and hardware
What's in the box

Everything you need, except the screwdriver

  • ~12 laser-cut plywood plates, numbered ①–⑦
  • 1× throwing arm (the ⑤ plate)
  • 2× pivot plates with the five-hole adjustment row
  • 2× rubber bands
  • 1× white foam ball
  • 1× green bottle-cap launch cup
  • 4× black plastic wheels
  • 3× metal rods, 7 cm (two axles and the pivot shaft)
  • 2× orange fixing rings for the pivot shaft
  • 6× screws, 4 mm coarse (one size throughout)
  • 1× double-sided tape square for the launch cup
  • 1× illustrated English manual, 14 steps

You'll need to supply: a small Phillips screwdriver, and that's the lot: no batteries, no electronics. Every joint uses the same 4 mm screw. Note the kit includes one foam ball, so spares are worth having if a whole class is firing at once.

How this build works

See mechanics in motion

Build the model, set it loose, and understand the science by watching it work.

Build

Around a dozen numbered plywood plates, four wheels, two rubber bands and one foam ball. Fourteen steps, one screw size throughout.

Play

Drop the foam ball into the cup, push the throwing arm down by hand, and let the bands do the rest.

Experiment

Move the iron shaft to a different hole in the pivot plates. The arm is caught at a different point, so the ball follows a different arc.

Where to start

Master the basics first

Work your way up. Each completed kit unlocks the know-how for your next challenge.

Start here
Mortar Launcher
Grades 3–5
10 steps
Then this
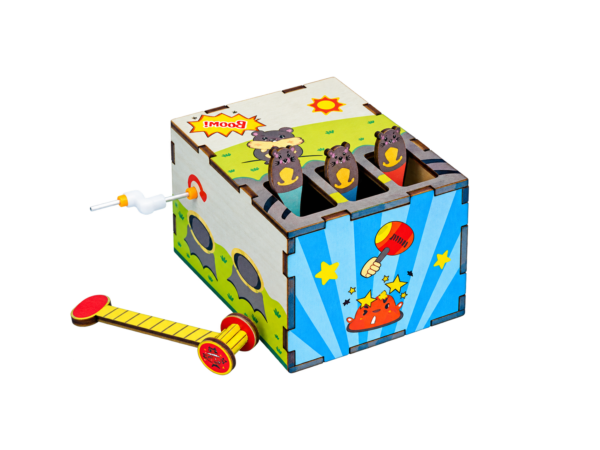
Whack-a-Mole
Grades 3–5
10 steps
You are here
Catapult
Grades 3–5
14 steps
Curriculum alignment

Educator & Procurement Resources

Essential information for classroom integration and school purchasing.

Every kit starts as a box of parts and turns into something kids can actually use. Making that happen means following directions and fixing mistakes along the way. They're tackling real engineering challenges, but to them, it just feels like play.
Product safety
Children's Product Certificate (CPC)
Certified to US children's product safety requirements
Choose one of the pivot holes, launch the foam ball three times from the same spot and mark where it lands each time. Move the arm's shaft to a different hole, predict whether the ball will fly higher or further, then launch three more times. Keep everything else the same: same ball, same push, same starting point. Finish with the manual's own question: what else in everyday life uses a lever? What it shows: changing where the arm stops changes the launch angle, and the launch angle changes the path the ball takes.
Whether you're exploring circuits in a science lab, tackling gears in a makerspace, or learning at home on the living room table, these kits fit right in. One quick tip if you're building a whole class set: build one kit yourself first, so you know where students are likely to need a hand.
PC University Distributors, Inc. is the exclusive distribution partner for E2K Robotics STEM kits to schools and educational institutions. From a single classroom to a district-wide rollout, message the team on WhatsApp at 516-596-1500 or email sales@pcuniversity.com, and they will send educational pricing and the full product list.
What educators & parents say

Reviews

Nothing here yet — and we'd rather say so

Verified reviews will appear on this page as soon as the first Catapults are built at home and in classrooms. We don't carry ratings over from other kits in the range, and we don't publish anything that isn't from a verified buyer.

If you've built this one with your class, we'd like to hear how it went — what worked, what didn't, and what you'd change.

Reviews

There are no reviews yet.

Be the first to review “Catapult”

Your email address will not be published. Required fields are marked *

Questions, answered

Before you build

You drop the foam ball into the green cup at the end of the throwing arm, then push the arm down by hand. The two rubber bands anchored to the chassis are stretched as you press, and releasing the arm converts that stored elastic energy into the throw. It's the whole lesson in one movement: store energy, release energy, watch the arc.
They are the best part of this kit. Each of the two pivot plates has a row of five holes, and the iron shaft the throwing arm swings on can go through any of them. Move the shaft and you change where the arm stops, which changes the launch angle, which changes the shape of the throw. High and steep from one hole, long and flat from another. Nothing else in the range gives you a variable you can change this easily.
We don't publish a distance, because nobody has measured it properly yet and we would rather say that than print a number we can't stand behind. What we can tell you is that the throw is short enough for indoor use and that the distance changes with every pivot hole, which is rather the point. Measuring it yourself is the experiment.
Only a small Phillips screwdriver. There are no batteries and no electronics in this kit, and every joint is screwed together with a single 4 mm screw size. The one adhesive is a square of double-sided tape, and that is supplied. Worth knowing: the kit contains one foam ball, so for a classroom it's worth having spares.
It suits grades 3 to 5 and takes about 45 to 60 minutes. Fourteen steps, one screw size, no wiring and no electronics. This is one of the gentler builds we make, and a sensible first kit. The manual asks that children build alongside a parent or teacher rather than alone.
PC University Distributors, Inc. is the exclusive distribution partner for E2K Robotics STEM kits to schools and educational institutions. Message the team on WhatsApp at 516-596-1500 or email sales@pcuniversity.com for educational pricing, classroom quantities and the full product list.
14-step manual

In English, with a physics explainer and a written exercise

Made for ages 8–11

Best built alongside an adult the first time

Schools welcome

Educational pricing through PC University

Before you start

A small screwdriver, supplied by you

Load it. Aim it. Launch it.

Fourteen steps, two rubber bands and five pivot holes — and a different arc every time you move the shaft.

Catapult
Grades 3–5 · Beginner
Original price was: $13.99.Current price is: $7.99.